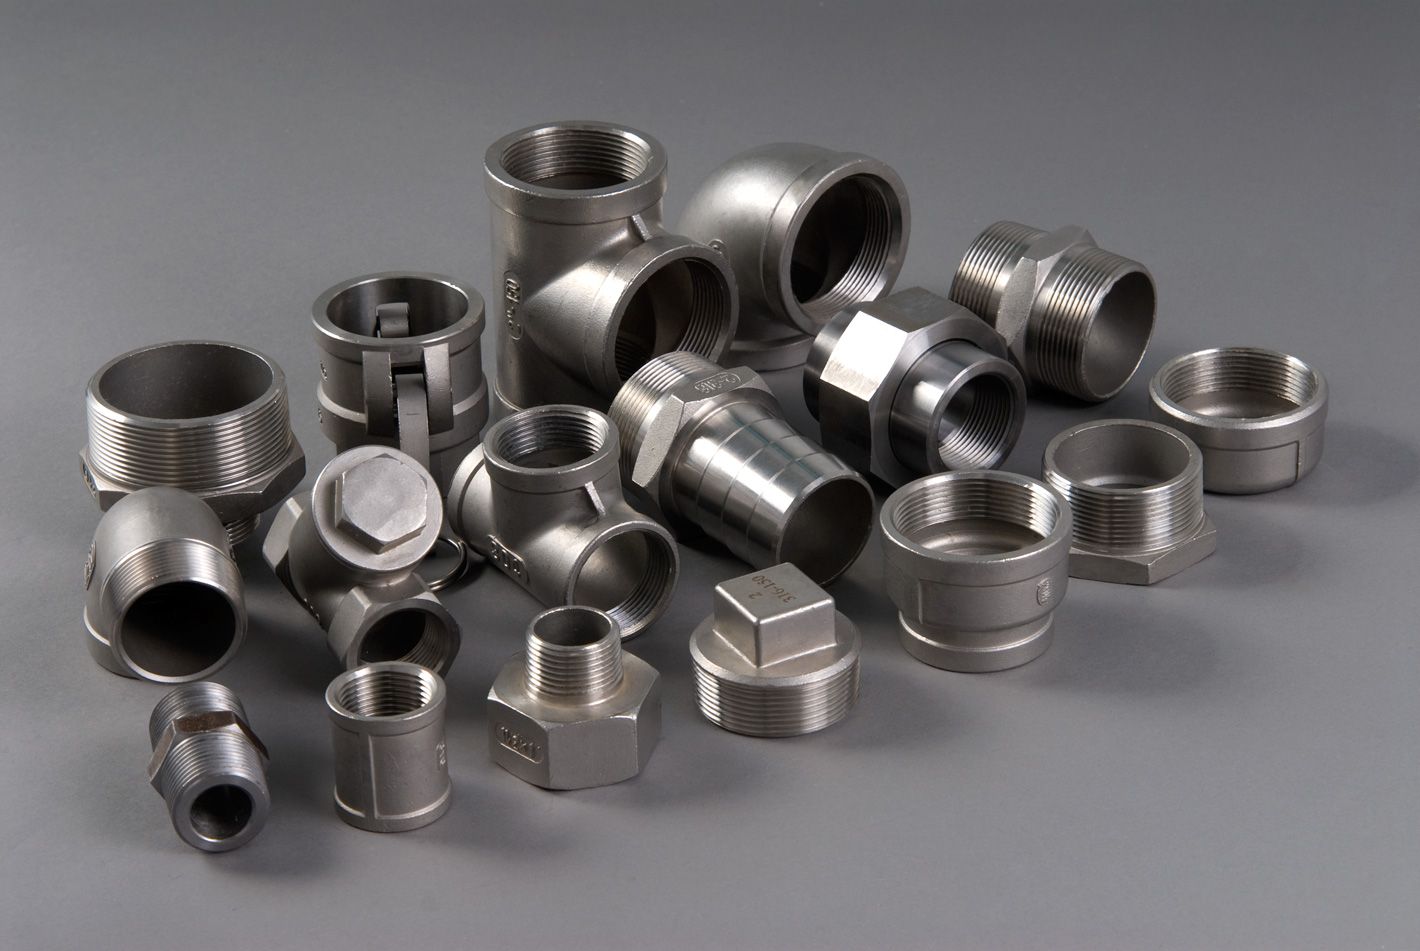
In the world of construction and plumbing, the use of high-quality materials is paramount to ensure the durability and efficiency of installations. Stainless steel threaded joints are renowned for their strength, corrosion resistance, and longevity. However, to optimize the strength and effectiveness of these joints, proper installation techniques must be employed. This article provides expert tips for installing stainless steel threaded joints, ensuring their performance and reliability in various applications.
Understanding Stainless Steel Threaded Joints
Stainless steel threaded joints are a popular choice for many professionals due to their robust nature and ability to withstand harsh environments. These joints offer several advantages:
- High resistance to corrosion, making them ideal for both indoor and outdoor applications.
- Excellent strength and durability, supporting heavy loads and high-pressure systems.
- Versatility in various industries, from plumbing to automotive sectors.
For more detailed information on the applications and benefits of stainless steel threaded joints, visit this informative resource.
Preparation for Installation
Gathering the Right Tools
Before beginning the installation, gather the necessary tools and materials to ensure a smooth process:
- Pipe wrenches or adjustable wrenches suitable for the size of the joints.
- Teflon tape or pipe dope to seal the threads properly.
- Cleaning materials such as wire brushes and solvent cloths to clean the threads.
Inspecting the Components
Always inspect the stainless steel threaded joints for any signs of damage or manufacturing defects. Look for:
- Cracks or burrs on the threads, which could compromise the seal and strength.
- Corrosion or discoloration, indicating potential weaknesses.
- Properly aligned and undamaged threads to ensure a tight fit.
By ensuring all components are in good condition, the risk of leaks or failures can be significantly reduced.
Installation Techniques
Sealing the Threads
Proper sealing is crucial to maintaining the joint’s integrity and preventing leaks. Consider the following:
- Wrap Teflon tape clockwise around the male threads, covering them completely but avoiding excessive layers that might make threading difficult.
- Alternatively, apply a thin layer of pipe dope evenly across the threads for a secure seal.
Threading the Joints
Careful threading ensures a tight fit and prevents damage:
- Align the male and female threads carefully to avoid cross-threading, which can damage the joint.
- Hand-tighten the joint initially, ensuring the threads engage correctly before using a wrench.
- Use a wrench to tighten the joint further, but avoid over-tightening, which can strip the threads or crack the joint.
Post-Installation Checks
After installation, it is essential to check the integrity of the joints:
- Conduct a pressure test to ensure there are no leaks in the system.
- Inspect the joints visually for any signs of stress or misalignment.
- Ensure all connections are secure and that the system operates smoothly without any unusual noises or vibrations.
Taking these precautions helps in maintaining the reliability and efficiency of the stainless steel threaded joints in any system.
For more insights into the best practices in using stainless steel threaded joints, explore further resources and expert advice to enhance your installations.
About the Author